Main /
How to Create Payment Types in the POS Cashiering (Direct Connection to Banking)
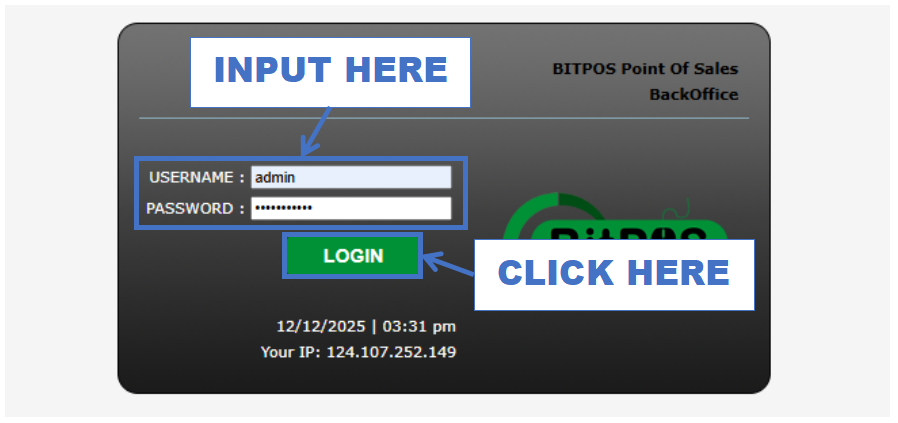
- STEP 1: Log in to the Back Office
- Access the Back Office using your admin credentials.
 |
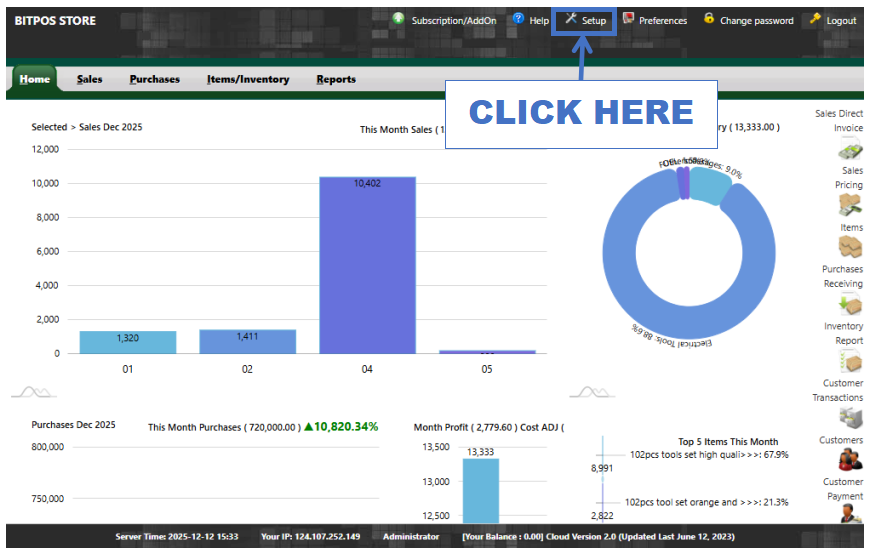
- STEP 2: Click Setup
- Go to the Setup menu on the left side of the dashboard.
 |
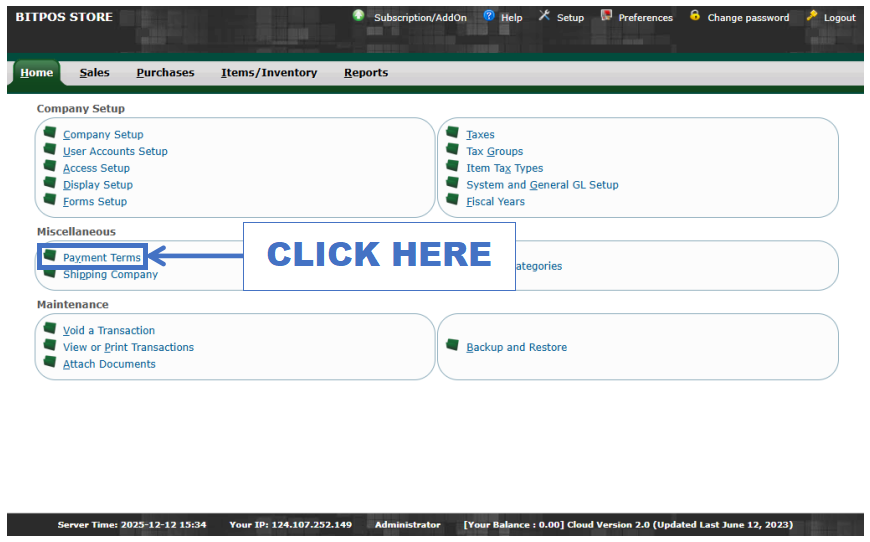
- STEP 3: Click Payment Terms
- Select Payment Terms to open the list of existing payment options.
 |
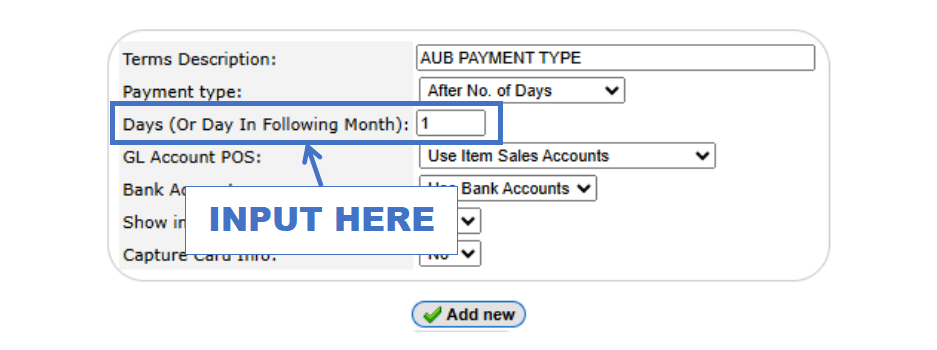
- STEP 4: Input Terms Description
- Enter the name of the payment term (e.g., AUB Payment Term).
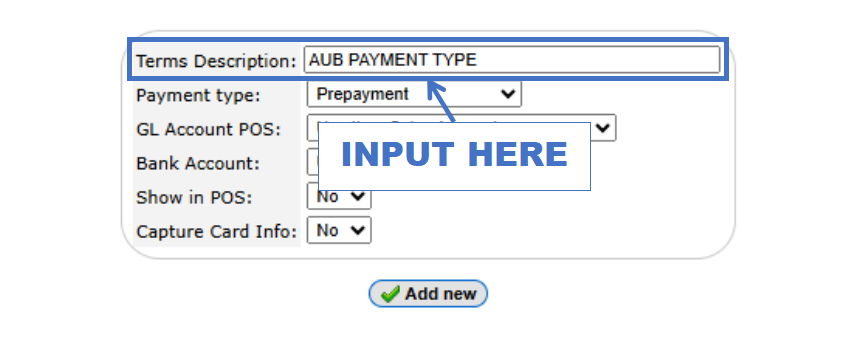 |
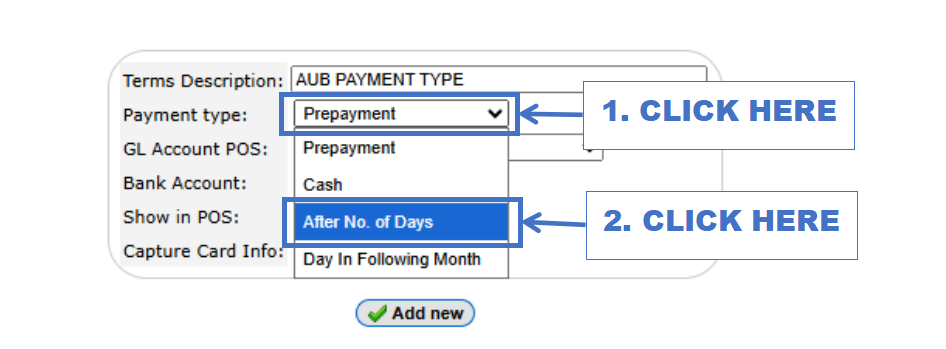
- STEP 5: Select Payment Type
- Choose After No. of Days as the payment type.
 |
- STEP 6: Input Days
- Enter the number of days (e.g., 1).
 |
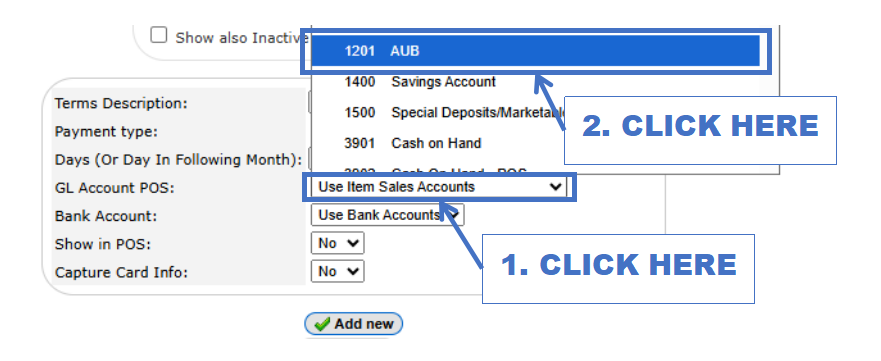
- STEP 7: Select GL Account POS (AUB)
- Choose the appropriate GL account used for POS posting.
 |
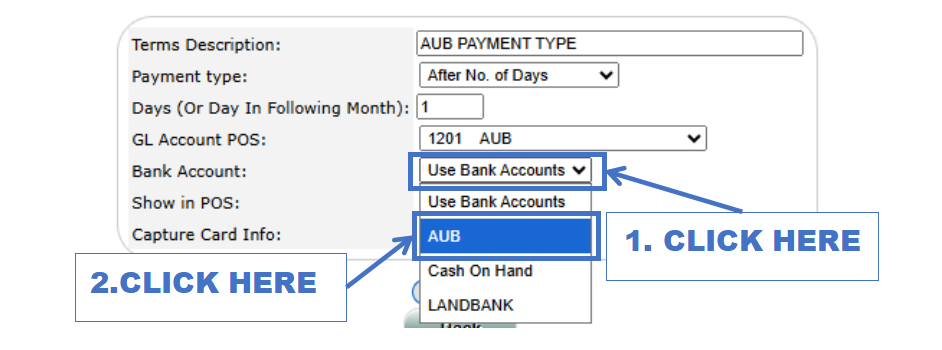
- STEP 8: Select Bank Account (AUB)
- Choose the linked bank account for this payment type.
 |
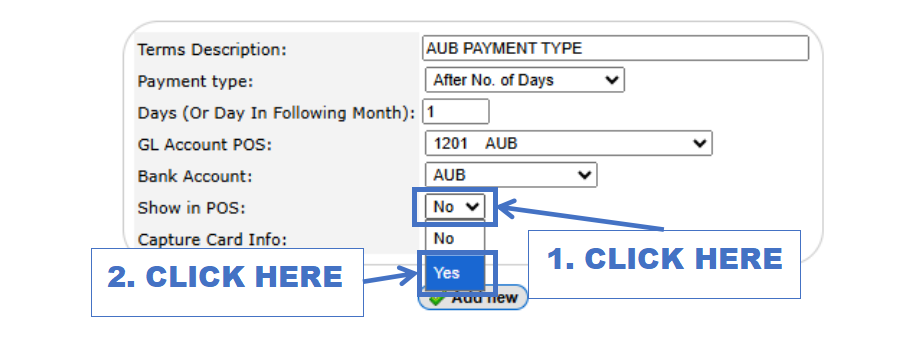
- STEP 9: Select Show in POS (Yes)
- Set this to YES so the payment option appears in the POS.
 |
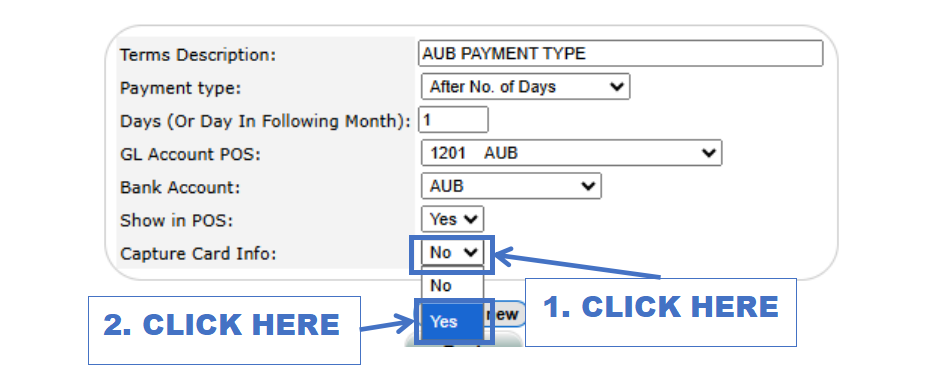
- STEP 10: Select Capture Card Info (Yes)
- Enable this to capture card information during transaction.
 |
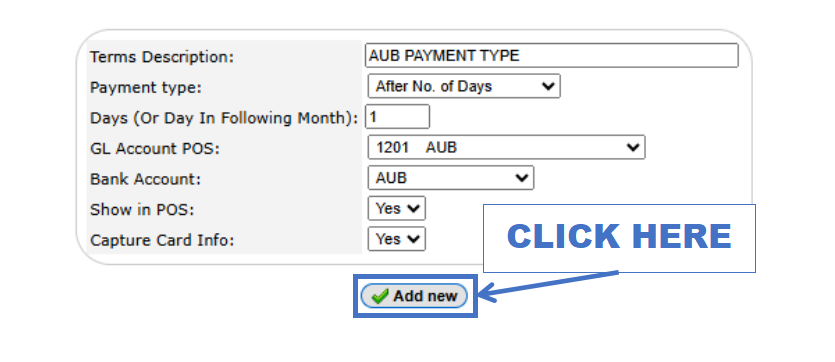
- STEP 11: Click Add New
- Save the new payment type by clicking Add New.
 |