Main /
POS – Per Receipt Report
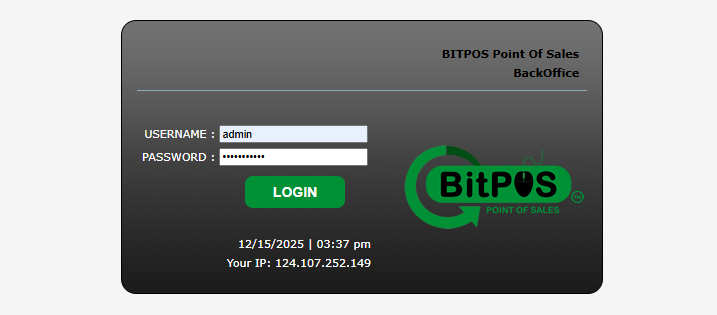
- STEP 1: Log In to the Back Office
- Access the Back Office using your admin credentials.
 |
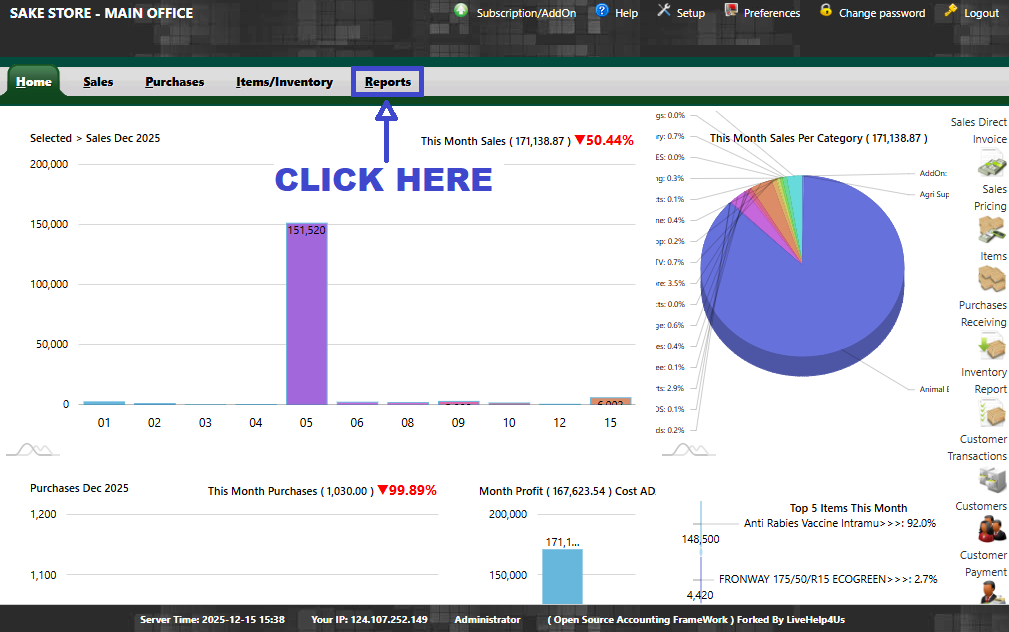
- STEP 2: Click Reports
- From the main menu, select Reports.
 |
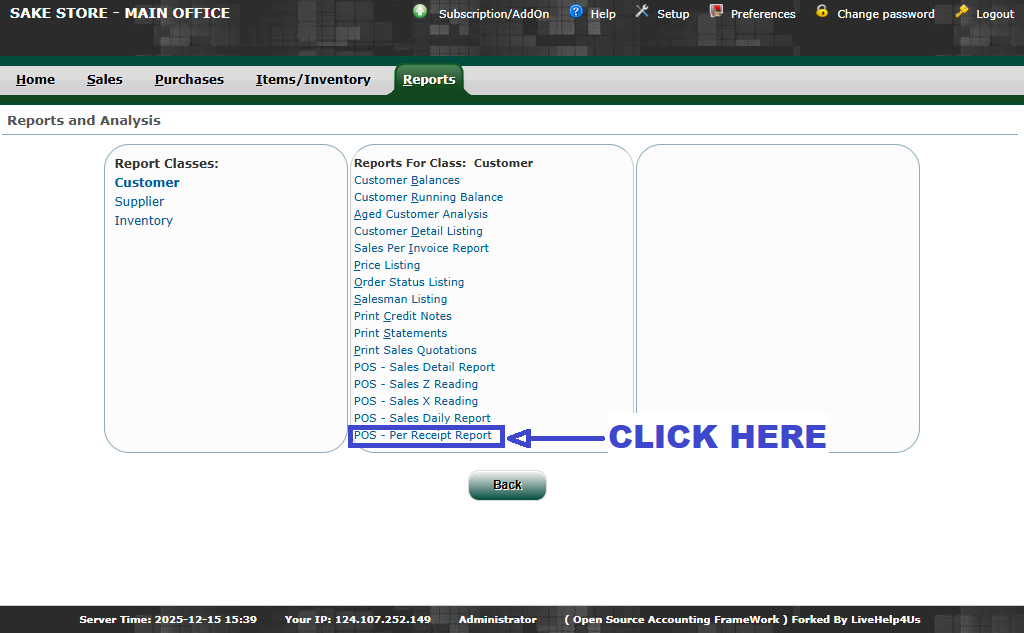
- STEP 3: Click POS – Per Receipt Report
- Select POS – Per Receipt Report from the list of available reports.
 |
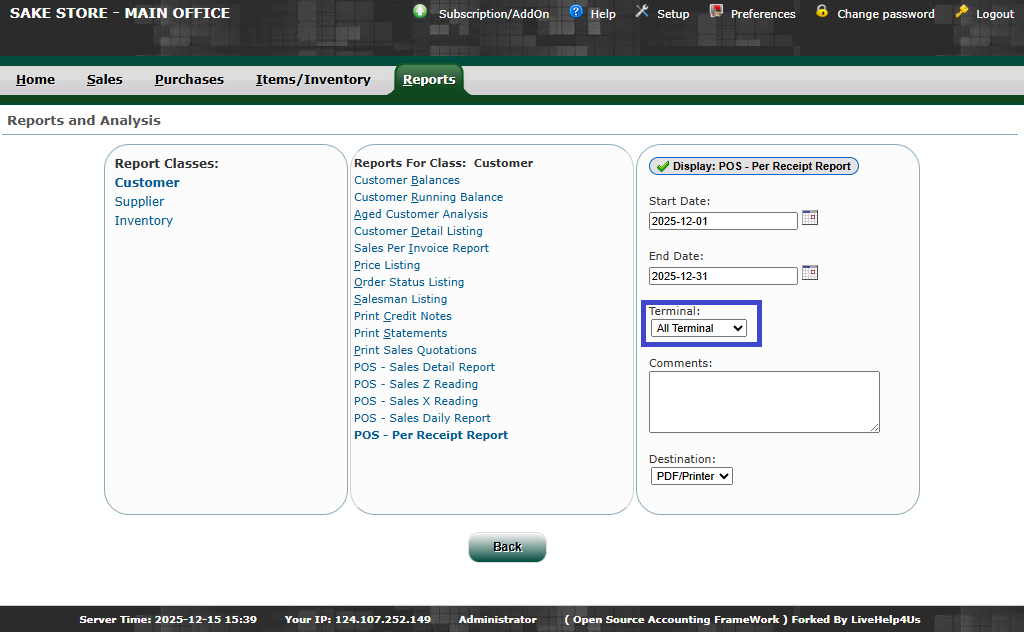
- STEP 4: Select Start Date and End Date
- Choose the date range for the receipts you want to view.
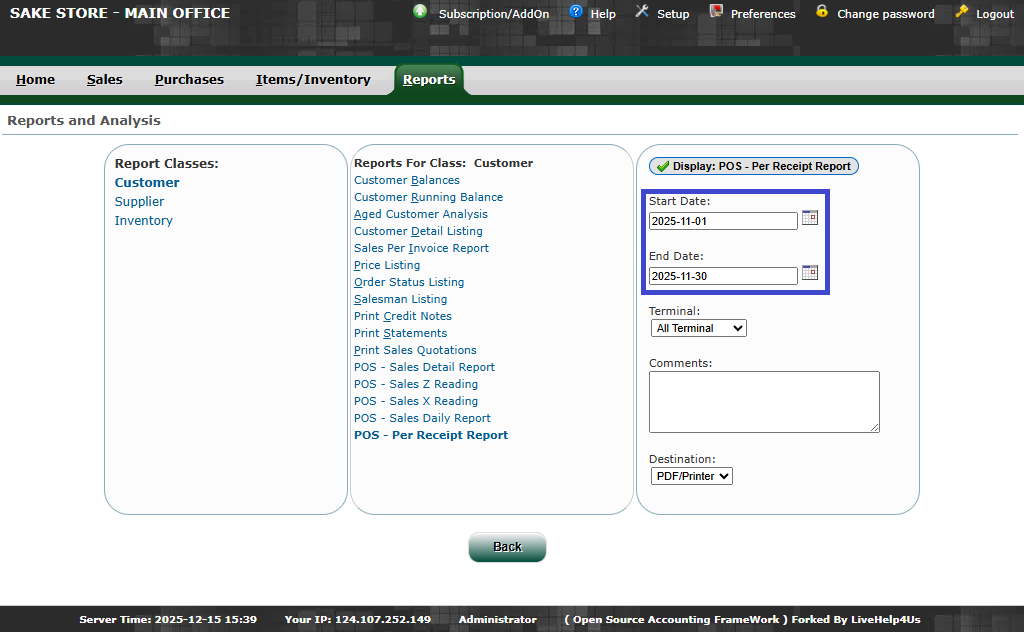 |
- STEP 5: Select Terminal
- Choose the POS terminal to include in the report.
 |
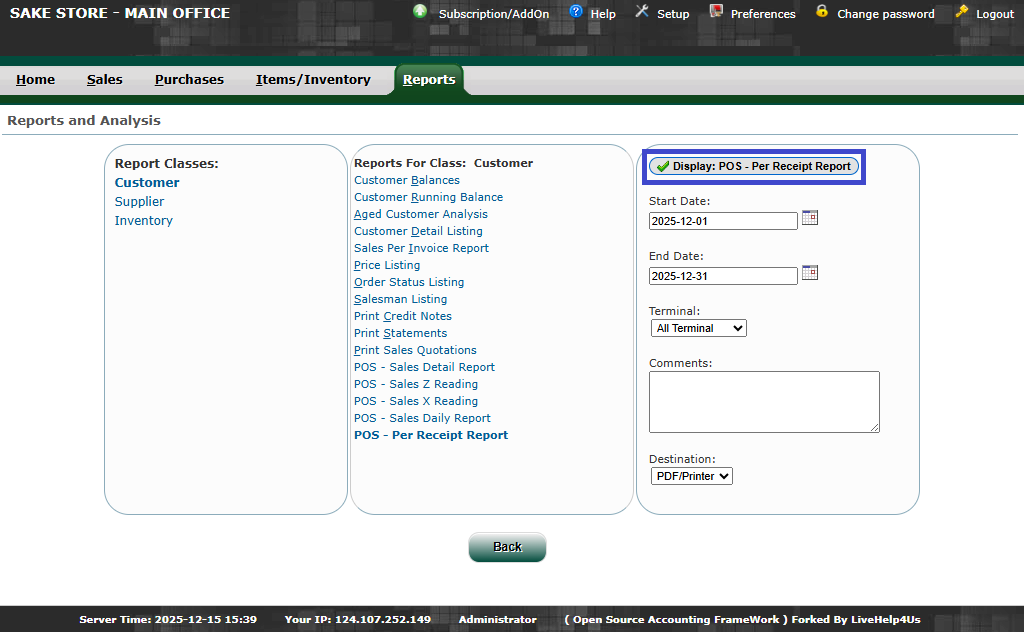
- STEP 6: Click Display
- Click Display to generate the report.
 |
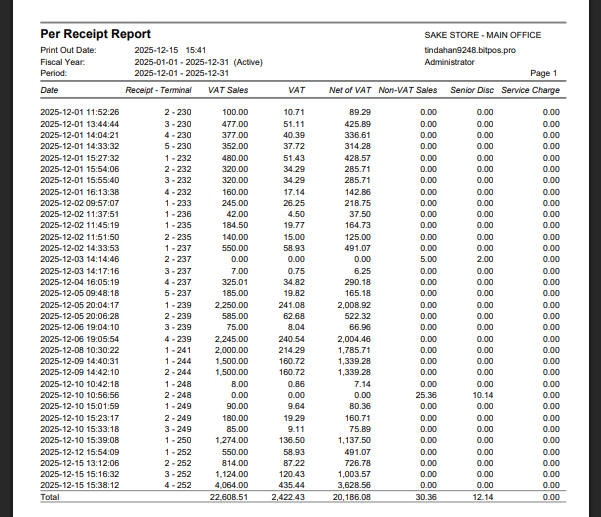
- STEP 7: View Report
- The system will display the POS – Per Receipt Report showing the transaction details for the selected date range and terminal.
 |