Main /
MERGE TABLE GUIDE USING MOBILE ORDER TAKING (MOT)
The Merge Table means using a smartphone or tablet to take orders from different tables in a restaurant and then combining those orders into one bill when customers want to pay together. It's a convenient way to handle group payments and make the checkout process smoother. Follow the merge table steps below:
| STEP 1: Go to your Mobile Order Taking (MOT) application: Log in your assigned account. | |
| STEP 2: Login: Enter your credentials (username and password) to log in to the Mobile Order Taking (MOT) application. | 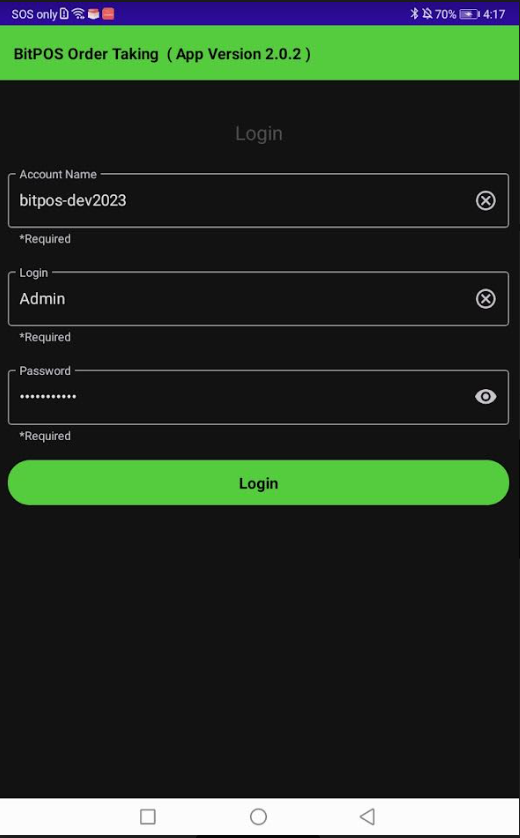 |
| STEP 3: Select Tables to Merge >> Choose the tables you want to merge. This is usually done by selecting each table from a list or by tapping on them directly on a visual floor plan layout. | 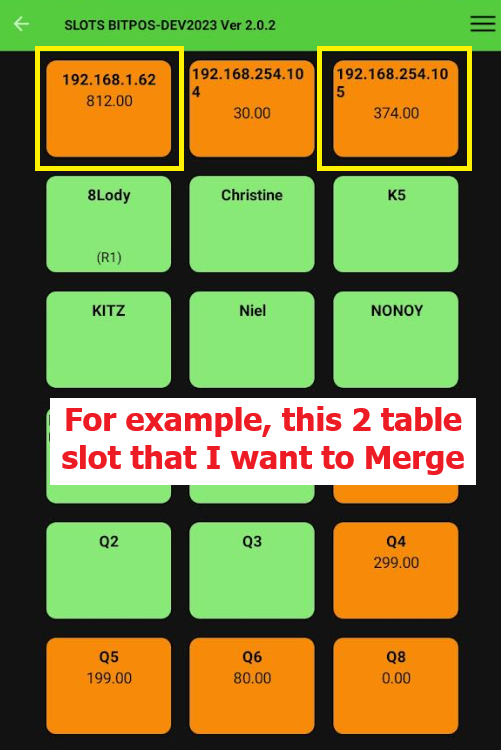 |
| STEP 4: • Initiate Merge: Look for an option to merge the selected tables. This might be represented by an icon or a menu option labeled Merge. • Tap the Merge | 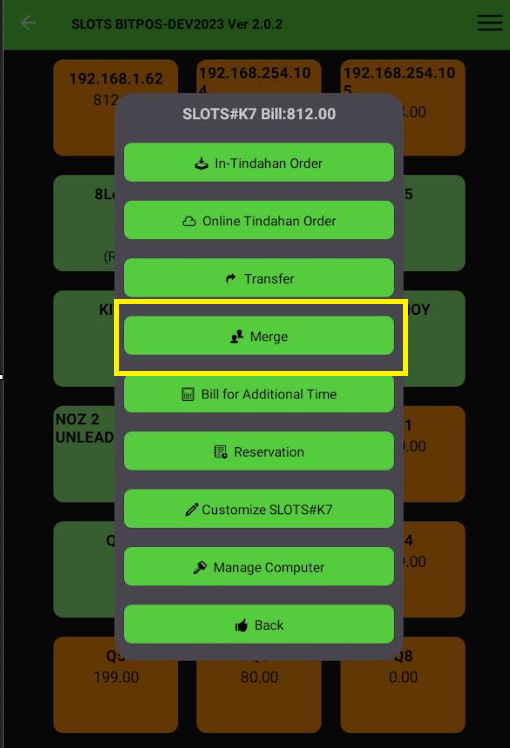 |
| STEP 5: • Confirm Merge: The app may prompt you to confirm the merge action. Verify that you've selected the correct tables before proceeding. • For example this two table slot that I want to Merge. | 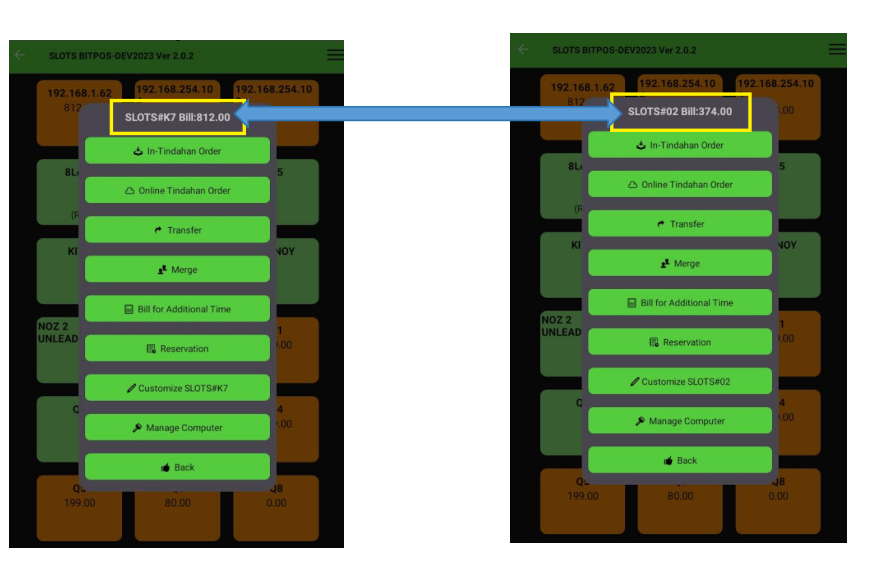 |
| STEP 6: • Find the Table Slot that you want to merge. >> Tap Select | |
| STEP 7: • Complete the Merge: Once confirmed, the app should merge the selected tables into a single order, consolidating all items from each table. >> Tap OK | 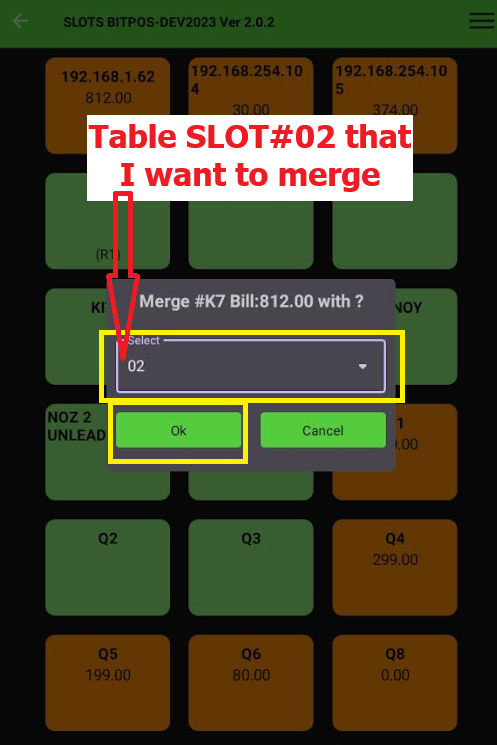 |
| STEP 8: Review and Adjust: Double-check the merged order to ensure accuracy. You may need to adjust quantities or items if there are duplicates or discrepancies. | 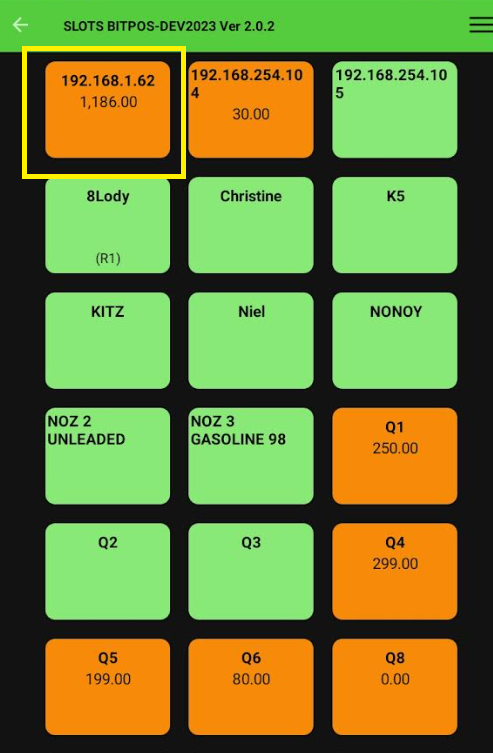 |
| STEP 9: Proceed with Ordering: With the tables merged, you can now continue taking orders as usual, with all items now associated with the merged table. | |
| STEP 10:Payment and Checkout: When customers are ready to pay, the merged table allows you to generate a single bill for the entire group, streamlining the checkout process. • So, now you can tender the order of the customer. |