Main /
How to Load Paper into Receipt Printer
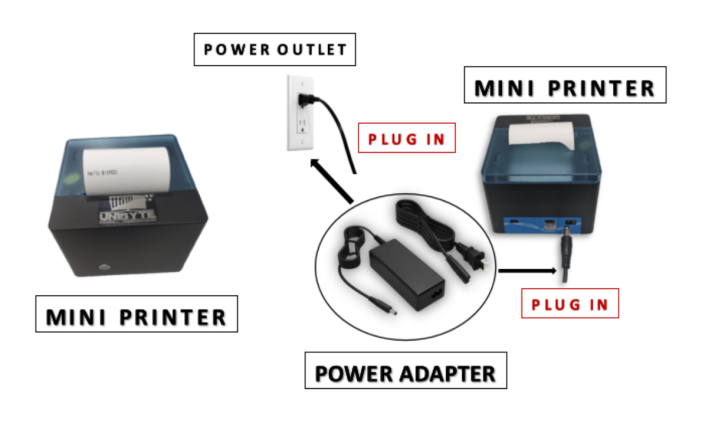
Set Up the Mini Printer
- Connect the mini printer to a power outlet using the power adapter.
- Make sure the printer is turned on and properly connected to your POS or computer.
 |
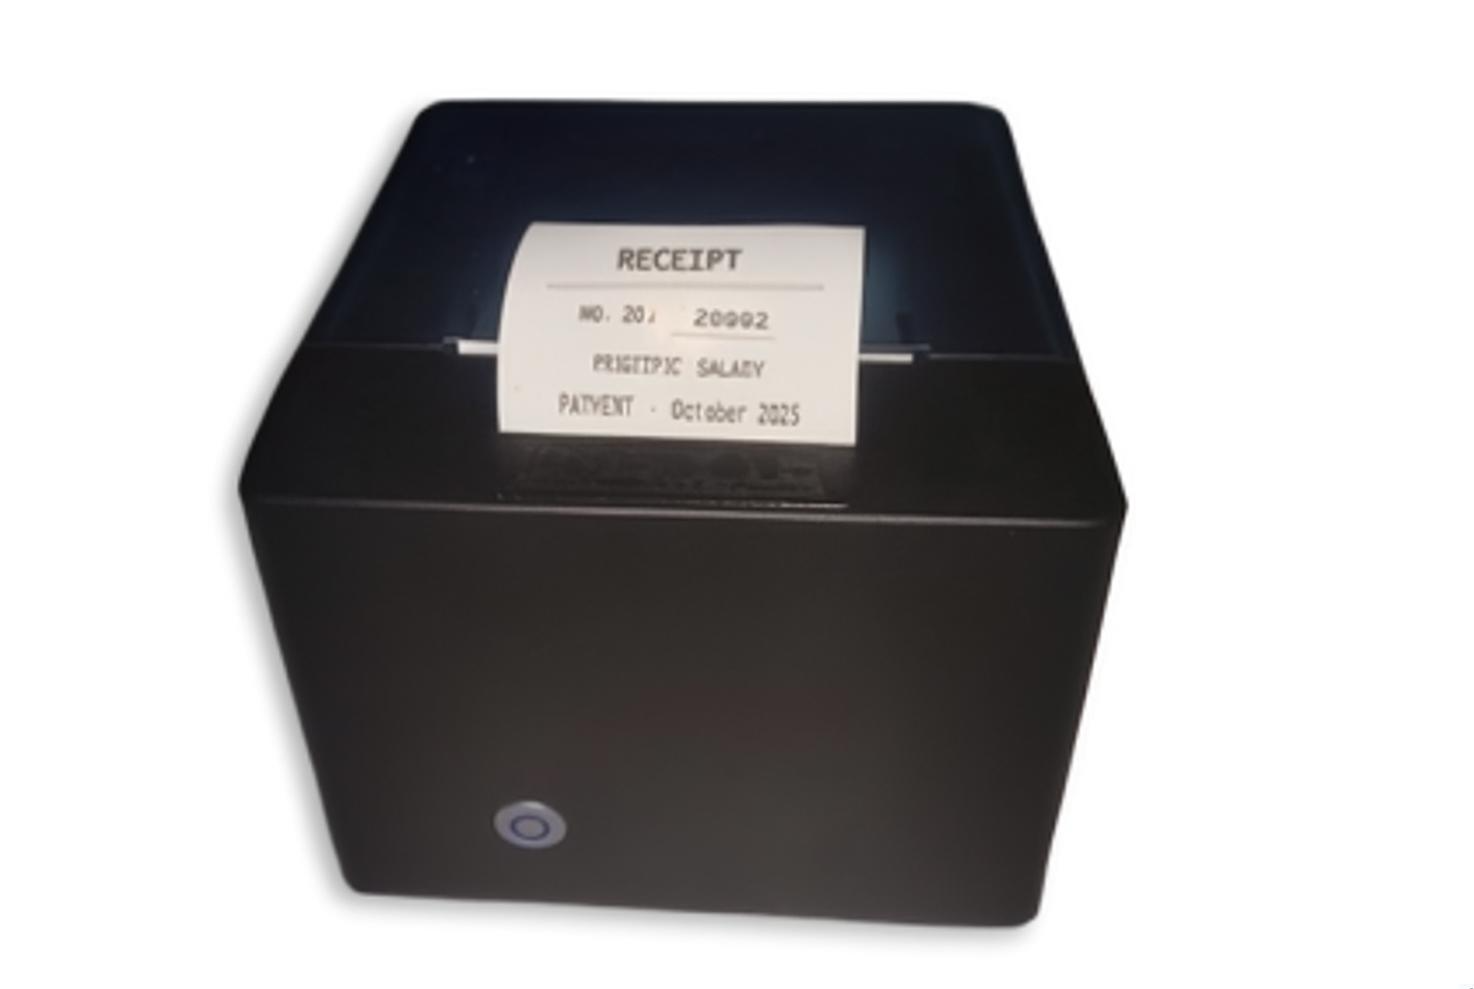
Thermal Receipt Printer
- Thermal printers use special thermal paper (receipt paper) that reacts to heat, so they don’t require ink or toner.
Steps to Load Paper in a Thermal Receipt Printer:
- STEP 1: Turn Off the Printer
- Always power off the printer before handling the paper to avoid any accidents or paper jams.
 |
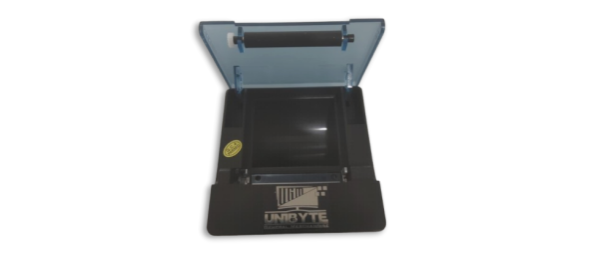
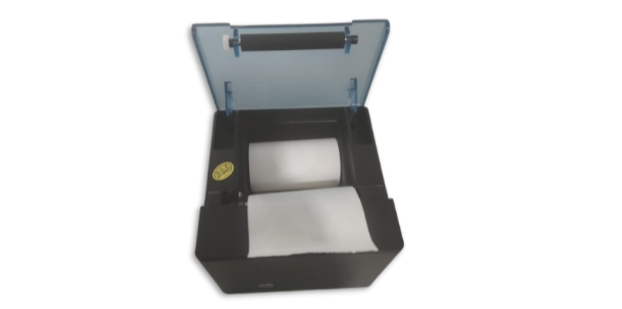
- STEP 2: Open the Paper Compartment
- Most thermal receipt printers have a lid or front cover that you can open to access the paper compartment.
- If there’s a roll holder, lift it to access the paper compartment.
 |
HOW TO OPEN PAPER COMPARTMENT?
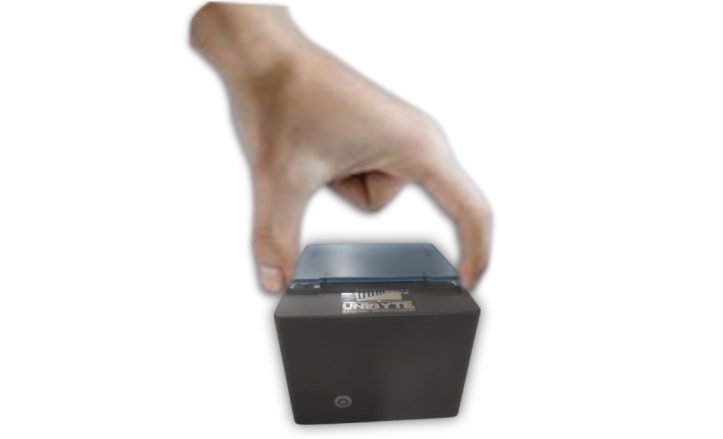
- I. Pressing Both Sides:
- The action shown (pressing each side) is likely meant to unlock or release the paper compartment cover. Many receipt printers have a simple latch system where you need to apply pressure on both sides to unlock the top cover.
- II. Pulling Out the Top Cover:
- Once you press both sides, the lid or top cover of the printer can be lifted or pulled out. This exposes the interior where you’ll place the thermal paper roll.
 |
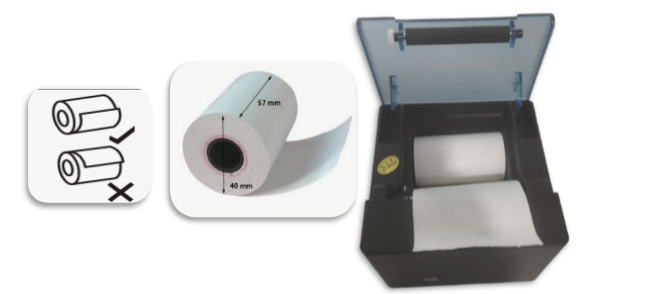
- STEP 3: Place the Paper Roll
- Place the roll of receipt paper on the paper holder (inside the compartment).
- Ensure that the paper is loaded correctly, with the thermal side facing down or up (depending on the model).
- The thermal side is the one that darkens when heated, and it should face the printer’s print head.
- Size of thermal paper: 57 x 40
 |
- STEP 4: Feed the Paper Through
- Pull a bit of the paper from the roll and thread it through the paper slot or guide.
- Ensure it’s feeding in the correct direction, with the paper edge aligned straight.
 |
- STEP 5: Close the Printer Lid
- Close the printer’s cover or lid to hold the paper in place.
 |
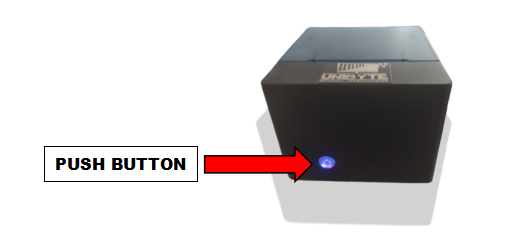
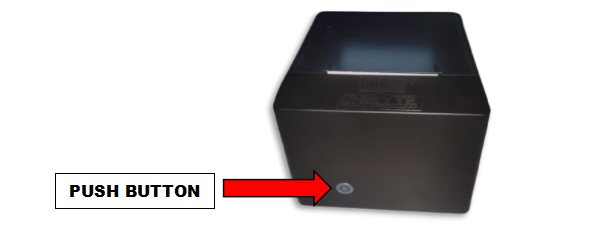
- STEP 6: Turn On the Printer
- Power on the printer and use the feed button (if available) to automatically pull the paper through the print head.
 |
- STEP 7: Test the Printer
- Print a test receipt to ensure the paper is feeding correctly.
 |