Main /
How to Inactivate a User Account
Inactivating a user account is used when an employee has resigned or is no longer part of the business. This process temporarily deactivates the account without deleting it, which ensures that all records and historical data remain in the system. Only an admin account can inactivate user accounts.
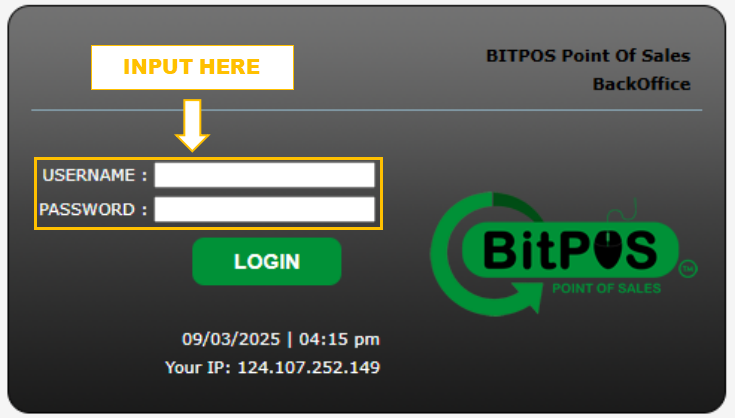
- Step 1: Log in using your admin account.
- Note: Only admin accounts have permission to inactivate user accounts.
 |
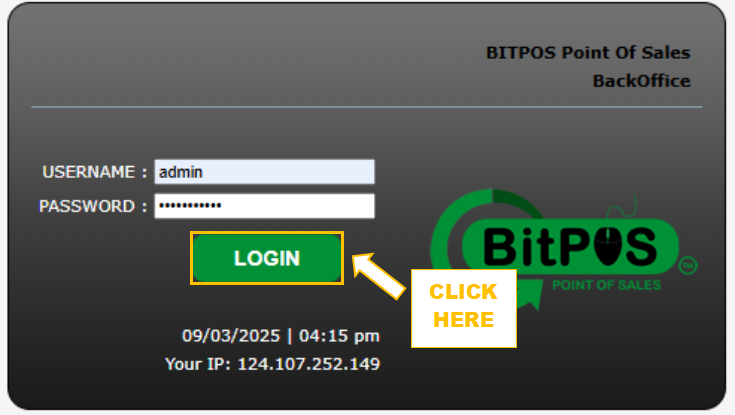
- Step 2: Click the Log In button to access the system.
- This will take you to the main dashboard where you can manage all system settings and user accounts.
 |
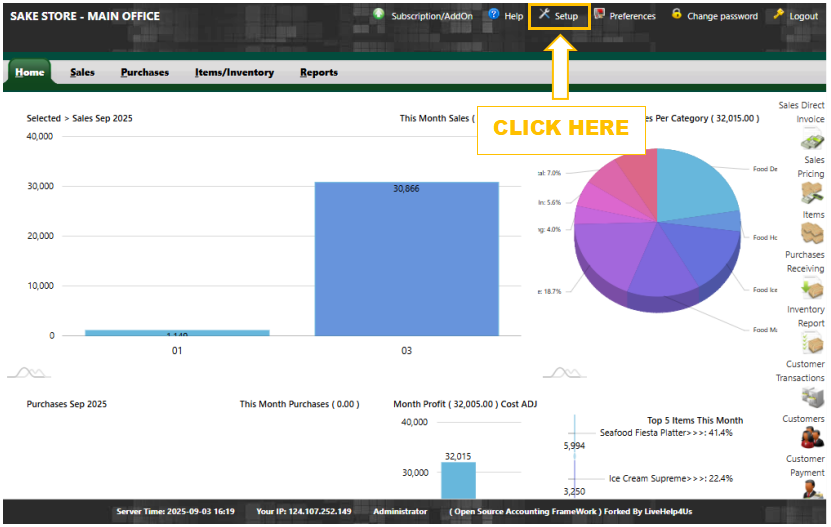
- Step 3: Click Set Up from the main menu.
- This opens the settings where you can manage user accounts and other system options.
 |
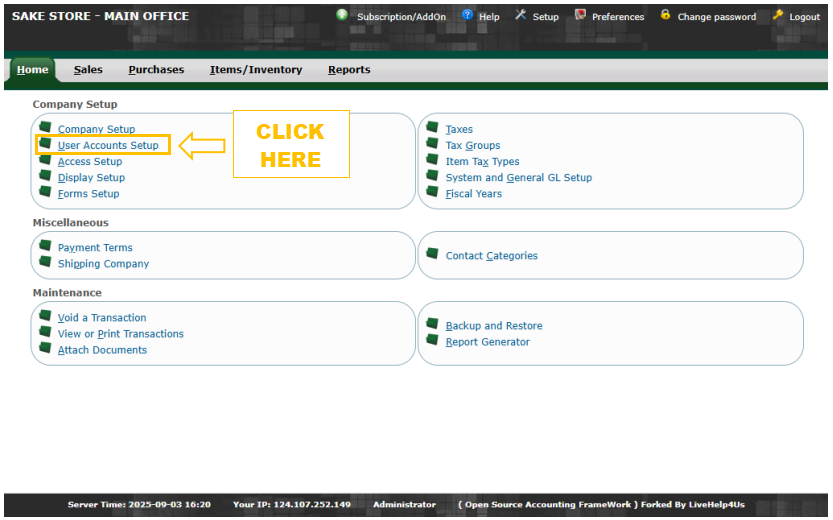
- Step 4: Click User Accounts Set Up to view all user accounts.
- You can see the list of all users, including their details such as role, status, and login information.
 |
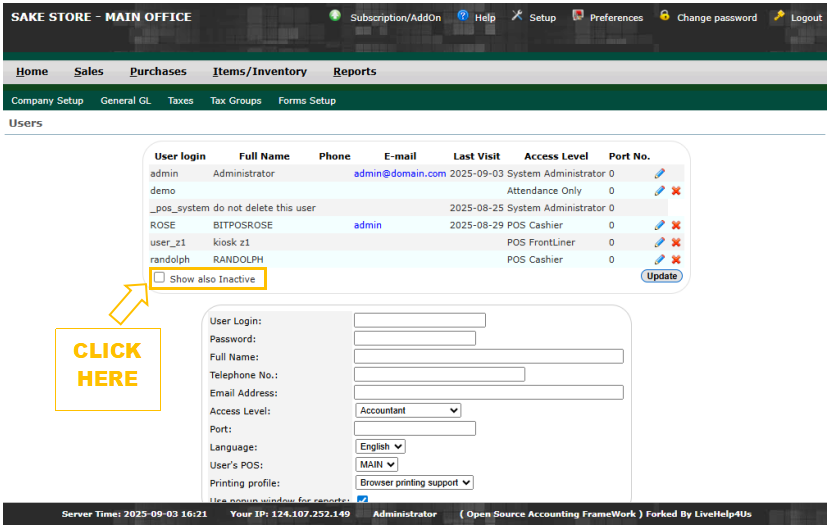
- Step 5: Click the Show Also Inactive checkbox.
- This lets you see both active and inactive accounts.
 |
- Step 6: Select the account you want to inactivate.
- Double-check the user details to make sure you are selecting the correct account.
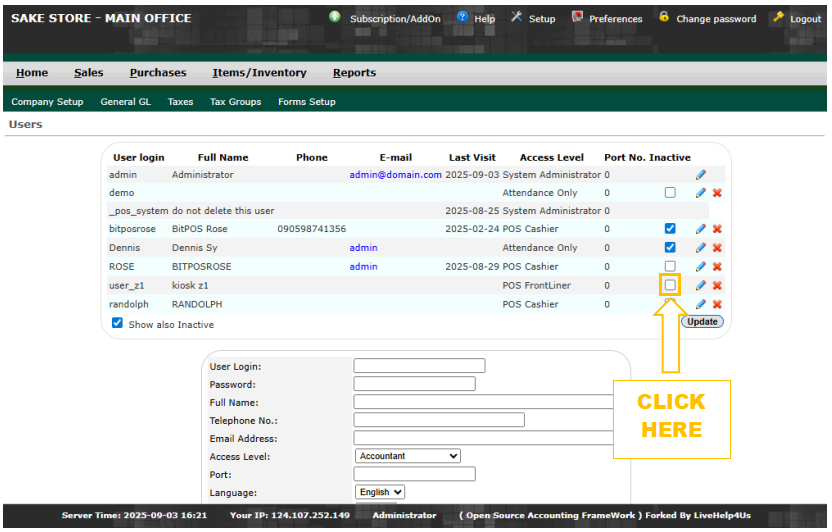 |
- Step 7: Click Update to save the changes.
- The account will now be marked as Inactive, preventing the user from logging in while keeping all past records intact.
 |